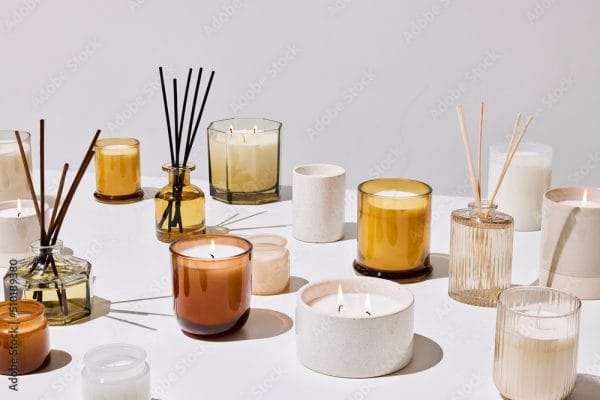
How to Make Candles at Home: A Beginner’s DIY Guide
Candles have been illuminating our spaces for centuries, not only providing light but also enhancing ambiance and even offering therapeutic benefits. Today, candle making has surged as a popular hobby and a viable business venture. Whether you’re looking to add a personal touch to your home, gift a handmade creation, or start a crafty side hustle, learning how to make candles at home is a fun and rewarding process.
Let’s dive into the steps, tips, and tricks to get you pouring like a pro!

Understanding the Basics of Candle Making
![]()
Before you start, it’s important to grasp the fundamentals. Candle making involves melting and pouring wax, adding color and fragrance, then cooling to form a solid product. But it’s not just about melting wax; it’s an art that requires precision and creativity. As you get better, you’ll learn to play with scents, colors, and shapes to make candles that are uniquely yours.
What You’ll Need: Candle Making Supplies
![]()
- Wax: Paraffin, soy, beeswax, or other wax varieties
- Wicks: Pre-waxed, tabbed wicks are easiest for beginners
- Containers or molds: Mason jars, teacups, or silicone molds
- Double boiler or a similar setup for melting wax
- Thermometer: To monitor the wax temperature
- Stirring utensil: A wooden spoon or spatula
- Scents: Essential oils or fragrance oils for scenting your candles
- Dyes: Candle-safe colorants if you want colored candles
- Wick holder or chopsticks to keep the wick in place while the candle cools
Step-by-Step Guide to Candle Making DIY
![]()
Step 1: Setting Up Your Workspace
Choose a clean, heat-resistant surface and cover it with newspaper or a drop cloth to catch any drips. Make sure your space is well-ventilated and away from any flammable items. Safety first!
Step 2: Prepping Your Containers or Molds
Ensure your containers are clean and dry. Fix the wicks to the bottom of the containers using a bit of melted wax or a glue dot. Use a wick holder or balance chopsticks across the top of the container to keep the wick centered and upright.
Step 3: Melting the Wax
Fill the bottom pot of your double boiler with water and place it on the stove. Put the wax into the top pot or a heat-safe bowl that sits over the pot. Heat the water to a gentle simmer, not a boil, and allow the wax to melt completely, stirring occasionally. Use your thermometer to monitor the wax temperature; most waxes should be melted at around 185°F (85°C).
Step 4: Adding Color and Fragrance
Once the wax is melted, remove it from the heat. If you’re using dye, now’s the time to add it. Stir well to ensure the color is evenly distributed. Then, add your fragrance oil. The general rule is to use about 1 ounce of fragrance per pound of wax, but you can adjust according to your preference. Stir the mixture for about 30 seconds to ensure the scent is well integrated.
Step 5: Pouring the Wax
Let the wax cool to around 135°F to 140°F (57°C to 60°C) before pouring. This helps prevent cracking and ensures a smooth surface. Slowly pour the wax into your prepared containers, leaving a small amount of space at the top. Keep the wick centered as you pour.
Step 6: Cooling and Setting
Allow your candles to cool at room temperature for 24 hours. Avoid moving the candles or placing them in a drafty area as they set.
Step 7: Trimming the Wick
Once your candles are completely set, trim the wick to about 1/4 inch (6 mm) above the wax surface. This is important for ensuring a proper burn.
How to Make Candles at Home Without Wax
![]()
For those interested in an alternative approach, you can make candles at home without traditional wax. Here’s a simple method:
- Collect used cooking oil and strain it to remove any food particles.
- Prepare your container with a wick as described above.
- Combine the oil with an equal amount of water and pour it into the container, keeping the wick above the oil-water mixture.
- Light the wick and the oil will fuel the flame, acting as a candle until all oil is consumed.
This method is less conventional and may not produce the same results or burn time as traditional wax candles.
How to Make Candles at Home Easy and Safe
![]()
Here are some easy tips for safe candle making:
- Always supervise your melting wax as it can be flammable at high temperatures.
- Use a thermometer to avoid overheating the wax.
- Keep a fire extinguisher nearby just in case of emergencies.
- Never pour leftover wax down the drain as it can solidify and cause blockages.
How to Make Candles at Home to Sell
![]()
If you’re considering turning your candle making hobby into a business, keep these points in mind:
- Research the market to understand what sells well and what your potential competition is.
- Develop a unique selling proposition to make your candles stand out.
- Comply with local regulations regarding the sale of home goods.
- Create attractive packaging and branding to appeal to customers.
- Use high-quality ingredients to ensure customer satisfaction and repeat business.
- Consider setting up an online store or attending craft fairs to reach a wider audience.
Conclusion: Lighting Up Your World with Homemade Candles
![]()
Candle making at home is a delightful way to express your creativity while producing something both practical and beautiful. Whether you’re making candles for yourself, as gifts, or to sell, the process is the same: melt, mix, pour, and cool. With patience and practice, you can master the art of candle making and enjoy the glow of your very own handmade candles. So, gather your supplies, follow these steps, and light up your world with the flicker of your creations!


